Here's what you'll need
Brine
- 1 Cup sour mash whiskey (I advise something sweet. I personally think that Jack Daniels Tennessee Honey is the best)
- 2 cups dark brown sugar (do not use the light brown sugar, it doesn't mix or caramelize the same)
- 1 cup real maple syrup
- 1 cup soy sauce
- 3/4 cup kosher salt
- 6 bay leaves
- 2 tsp whole black peppercorns
- 8 cloves (not heads) peeled garlic
- 16 cups water
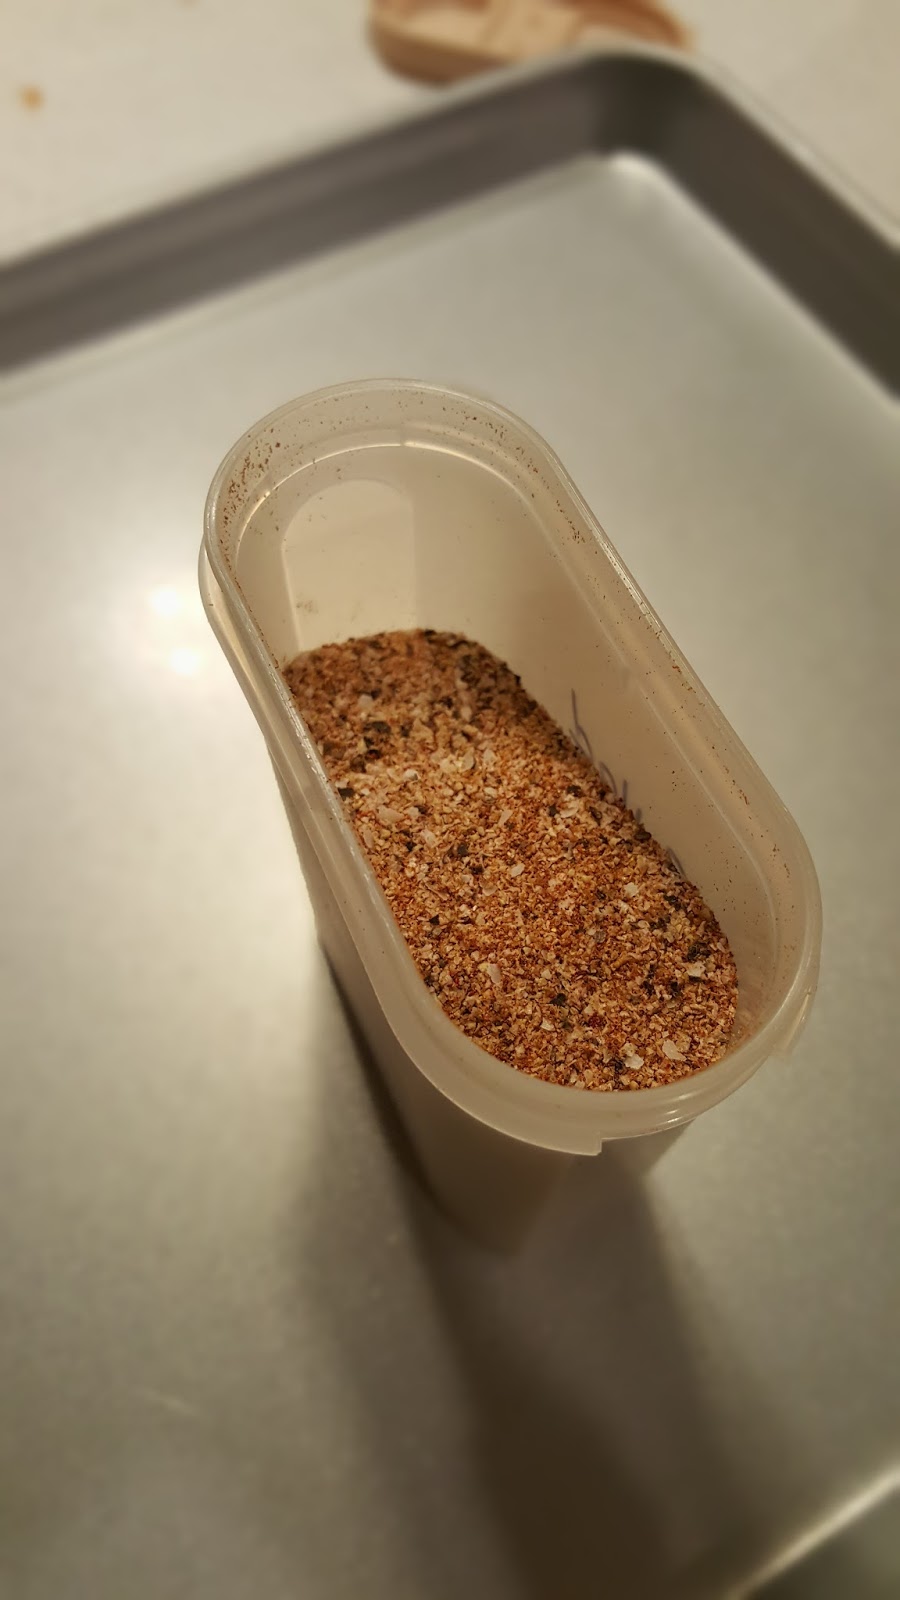
Seasoning
- Salt
- Pepper
- Garlic
- Oregano (dried)
A big ol' turkey
Wood: 50/50 mixture of Cherry and Mesquite
Step one: get a backbone
This is a recipe for spatchcocking (spatch cock ing) a turkey. When you spatchcock a bird, you remove the spine and break the ribs in the center to have the bird lay flat then you twist the wings up. It will cook a lot more evenly like this than it will if you cook it whole. Here's some photos and a link to a great video. (this video should only be watched until it gets to being done breaking the chest flat) https://www.youtube.com/watch?v=cxDaaYHyQJw

We'll stop here now and move on to step 2.
Step Two
So for step two add all the ingredients for the brine but half the water into a large pot and bring it to a boil. Stir it constantly so the brown sugar dissolves completely. Once it's at a boil, take it off the burner. Add the other 8 cups of water cold and let cool. Once it's cooled. I put the turkey in a food grade plastic bucket and pour the brine over it to soak, covered and refrigerated, overnight.

Step Three: Seasoning done right
So for this step we cut the skin along the joint of the legs, fold it back over the ends of the legs and up over the breast like a t-shirt pulled halfway over its head. Doing this allows us to season under the skin and on top of it. This is important because turkey skin, while delicious, is also relatively thick and that seasoning's flavor won't penetrate a lick if it's just on the outside of the skin.


 |
| Note my hand is under the skin pushing it up, this stretches it out so I can pull it up over the neck |
 |
| Season liberally |

Now that it's all seasoned, or before you start peeling the skin, arrange it like this, you bend the wings backwards over themselves and the legs sideways like shown in the last photo there, this is the best position for even cooking and it makes you look like you know what you're doing.
Step Four: Cook it.
Use the mix of 50/50 cherry/mesquite pellets and throw it on the grill on a pan wrapped in foil at 300° (Note only the pan is foil wrapped, not the bird). Let it cook till it's 165° in the breast with an instant read thermometer. If you've got one of the dumb pop up plastic ones... pull it out and throw it away.


Pull it off and slice it up. If you don't know how to carve a turkey, google it. It's pretty easy. Let me know how you like it! Happy Turkey Holocaust!
#HardWoodsOnly