Well, there you have it, even God says you shouldn't boil your ribs. If you do, you're probably maybe facing eternal judgement, but don't sweat it, this recipe will show you the right way to make ribs that fall apart and taste like they came straight from heaven's kitchen... or grill.
I need to give a precursor, this is an abridged form of the Last Meal Ribs from amazingribs.com I've found their rib recipe to be the best and this site is just a compilation of recipes I find worthy of my stamp of excellence, I don't claim responsibility for birthing this recipe.
What you're gonna need
- Ribs, either baby back or St. Louis are preferred, but you can use spare ribs if necessary
- 3/4 cup firmly packed dark brown sugar
- 3/4 cup white sugar
- 1/2 cup paprika
- 1/4 cup garlic powder
- 2 tablespoon black pepper
- 2 tablespoon ground ginger powder
- 2 tablespoon onion powder
- 2 teaspoons rosemary powder
- salt
- apple pellets
Step One: Preparing the Meat
So this is a part a lot of people don't understand. Most figure, "I just gotta buy the meat and throw it on the grill. It'll taste great." While they may be edible if you do that, your experience eating the ribs won't be nearly as good as that slab of meat and bones deserves.
First stage of the meat prep is rinsing it off with water and then quickly padding it dry with a paper towel.

After you've done that, you're gonna need to remove the membrane from the back of the ribs. The reason for this is that it becomes hard and leathery while cooking, making eating the ribs a less tasty, and much more challenging experience than it needs to be.
To remove the membrane, just slide a butter knife under it, then grab it and pull. Depending on the ribs, it will all come off in one piece. I find spare ribs are much much harder to work with as far as removing the membrane goes, but it's necessary to allow the meat to cook correctly and to keep it edible with nothing more than fingers.
 |
| Membrane is mostly removed here
Step Two: Seasoning
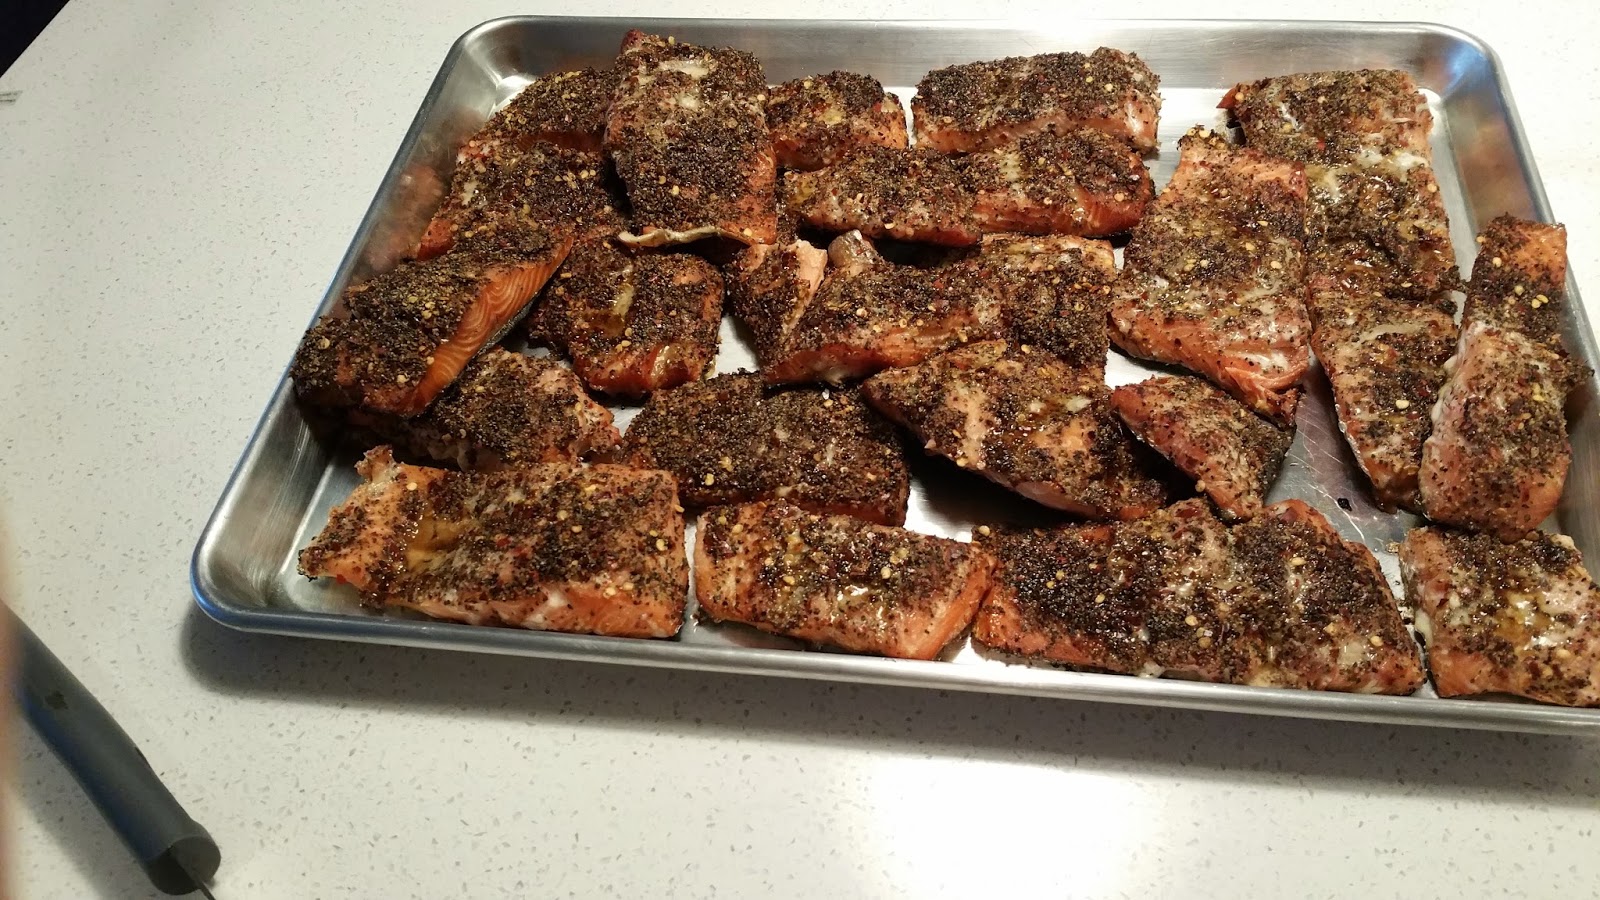
I unfortunately forgot to take a picture of this stage, so I'll put one up of the meat on the grill.
 |
So for the seasoning, you're gonna use kosher salt or a salt grinder over both sides of the ribs, you don't need to put a whole lot on, just what you would normally do if you were seasoning meat you were about to eat.
Now let this sit for an hour or so in the fridge, the salt helps to tenderize the meat and bring out flavor. While that's sitting, mix all the other seasonings together. It will be more than you need for just a couple racks. After the hour is up, pull the ribs out of the fridge and cover them in the mix. It doesn't need to be an overly thick coating and the ribs should show through.
Step Three: Smoke
Turn your grill on to smoke, and leave them be for an hour.
Step Four: Turn Up The Heat
Now it's time to actually cook your ribs, turn it up to 225° and let them cook for about 5 or 6 hours, 4 if they're baby back. Once that time is up, baste them in your favorite BBQ Sauce. As always, I exclusively recommend OMG BBQ.

Now turn it up to 450 and let it cook the sauce on the ribs. It will take a few minutes, don't let the sauce burn.
Step Five: Remove The Masterpiece From The Grill

Step Six: Eat
These ribs will pretty much fall apart, and they are probably the best ribs you've ever eaten. So Enjoy, brag, and make about twice as much as you think you'll need because there won't be leftovers no matter how much you make.
 |
| The pink is called a smoke ring, and it's why they taste so damn good. |
Notes and Afterthoughts
Many people, especially those in competition circuits do something called a "Texas Crutch." It's basically wrapping them in foil with a little bit of water to make them more tender. I intentionally don't do this for two reasons. One; I'm lazy and don't want the extra step. Two; this is the real reason. When you do the Texas Crutch, it softens the bark on the meat, which I think is actually a negative as that adds a lot of flavor and a great texture.
#HardwoodsOnly